This is the most amazing healthy pie crust in the world, and it’s foolproof! Perfect for sweet & savory pies or vegan quiche. Vegan/Gluten Free/Oil Free!
Meet my new favorite pie crust. I don’t even follow a gluten free diet, but this has become my go-to pie crust because it’s so easy and tasty! The process of preparing it is much simpler and more consistent than regular pie crust made with butter and shortening.
Most pie crusts need pie weights to help them not sink or puff up when you pre-bake them, but this one doesn’t need any help! It will stay put during pre-baking, making it perfect for no-bake pie fillings. You can use it for top and bottom crusts in my Vegan Pot Pie as well, just double the recipe.
Try it with Pumpkin Pie, Chocolate Pie, Strawberry Pie or Vegan Quiche!
How to make it
To prepare, make a flax egg (1 tbs ground flaxseeds + 3 tbs water) and set it aside to thicken. (The full amounts and instructions are at the bottom of the post, this is an overview with photos)
- Add almond flour, gluten free flour, sugar and salt to a large bowl.
- Pour in the flax egg and 4 tablespoons of water.
- Stir with a large spoon, adding 1-2 more tablespoons of water if needed. The dough should be moist, but not too wet, and shouldn’t crumble when squeezed between your fingers.
- Form the dough into a cohesive ball. If it’s too crumbly, add a bit more water. If too wet and sticky, add a little more gluten free flour. Place the ball of dough on a large piece of parchment paper or other clean surface sprinkled with gluten free flour.
- Push the dough flat with your hands, sprinkle with flour and roll with a rolling pin about 12 inches in diameter to fit a 9 inch pie plate.
- Carefully transfer dough to pie plate (I used parchment paper to flip it over). It won’t look perfect but that is fine, you can repair any tears or empty spots.
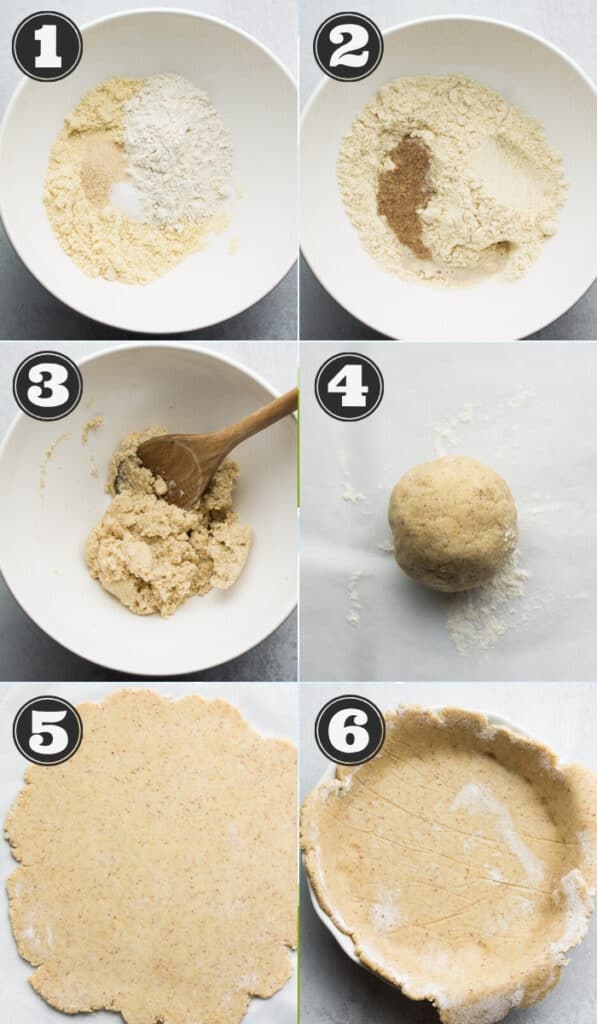
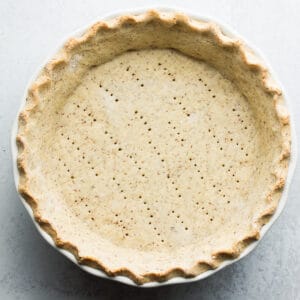
Gently push the dough into the corners of the pie plate, and use excess from the edges to patch any tears. Flute the edges. See this tutorial if you need help decorating pie edges.
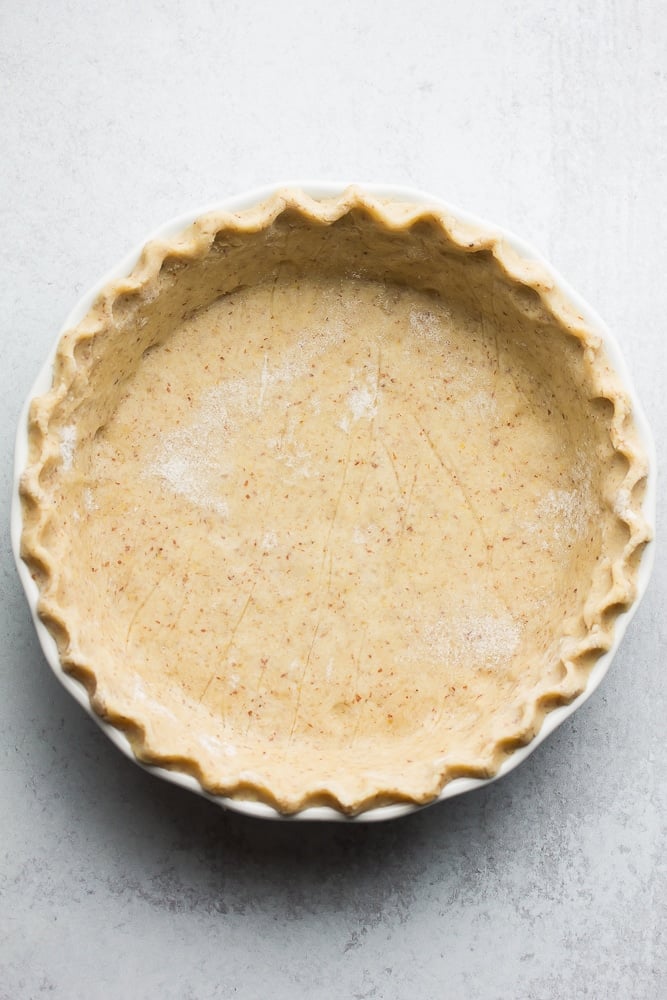
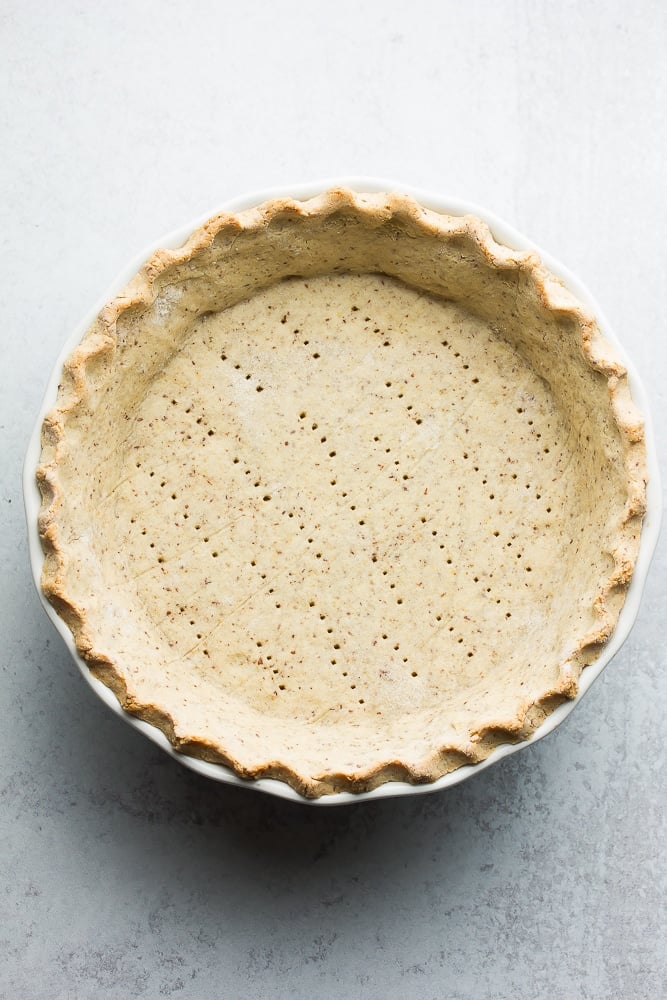
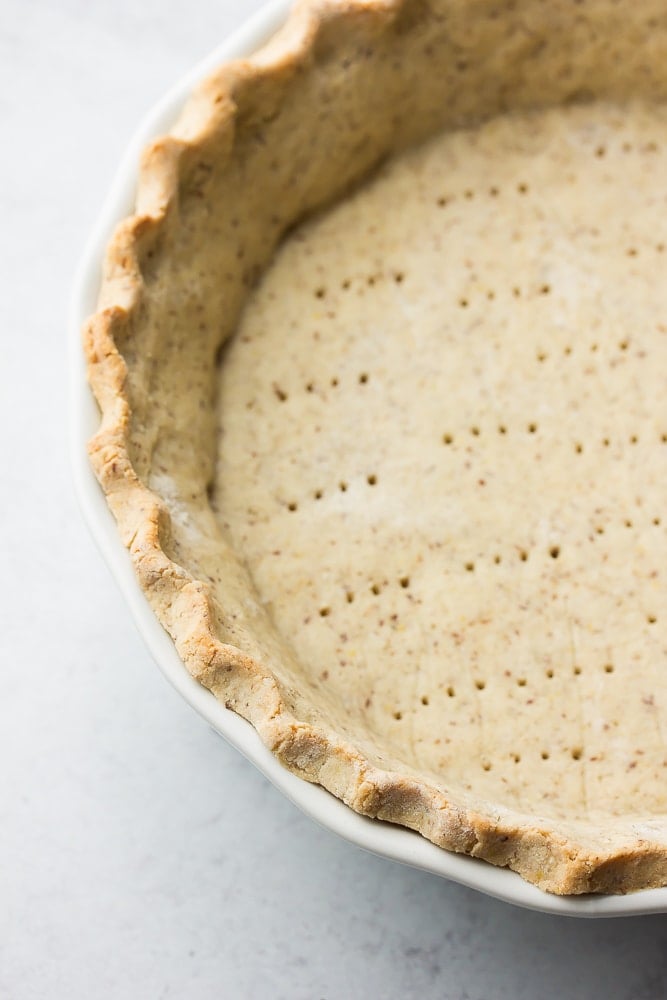
Now it’s ready to be baked! Poke holes with a fork all over the bottom.
Baking Instructions
For no-bake pies: Bake for about 30 minutes until golden brown, then let it cool before adding the filling.
For cooked pies: Pre-bake in the oven for about 10 minutes, then remove, add filling (+ additional top crust if using) and bake according to the pie recipe instructions.

Can I make it ahead of time?
Yes! It can be made up to 3 days ahead of when you plan to use it when stored in the refrigerator. You can store it as a ball of dough, or pressed into the pie plate, ready to bake. Cover with plastic wrap.
It also freezes well. When ready to use, thaw overnight in the refrigerator, roll and bake as desired.
This post contains affiliate links. Read my full disclosure here.
Easy Healthy Pie Crust (Vegan/Gluten Free/Oil Free)
Ingredients
- 1 tablespoon ground flaxseeds
- 3 tablespoons water
- 1 1/2 cups almond flour*
- 3/4 cup gluten free all purpose flour*
- 1 tablespoon granulated sugar (leave out for savory pies)
- 1/4 teaspoon salt
- 4-6 tablespoons additional tablespoons water
Instructions
- Make the flax egg by combining the ground flax and water together in a small bowl. Stir and set aside for 5 minutes, until it thickens. If pre-baking the crust, preheat the oven to 350 degrees F at this time.
- In a large bowl, add the almond flour, gluten free flour, sugar (leave out for savory pies) and salt. Stir to combine.
- To the bowl with the dry ingredients, add the thickened flax egg mixture and 4 tablespoons of additional water. Stir well with a large spoon until the dough comes together. Add an additional 1-2 tablespoons more water as needed. The dough is ready when you can squeeze it in your hands and it doesn't crumble; it should be moist but not too wet.
- Form the dough into a cohesive ball with your hands. If it's too wet, add a little more gluten free flour.
- Place the ball of dough on a large piece of parchment paper or other clean surface sprinkled with gluten free flour to prevent sticking. Flatten the dough with your hands, sprinkle with flour, then use a rolling pin to roll it into an even circle about 12 inches in diameter.
- Use the parchment paper or rolling pin to carefully place the dough into your 9 inch pie plate. It's okay if it's not perfect. Gently press the dough into the pie plate and patch any tears with excess dough from the edges. Flute the edges if desired.
- With a fork, poke all over the bottom of the crust.
Baking Instructions
- For no-bake pies: Bake the crust at 350 degrees F for 30 minutes until golden brown. Let cool for 15-20 minutes before filling. No need to use pie weights, this pie crust will not shrink!
- For cooked pies: Pre-bake the crust for 10 minutes at 350 degrees F, then fill and bake as directed from whichever pie recipe you are using.
Notes
- The crust is best using fine almond flour, but almond meal works too.
- If you don't need the crust to be gluten free, you can substitute all purpose flour for the gluten free flour. I used Bob's Red Mill 1:1 Baking Flour.
- The pie crust dough can be made a few days ahead and stored in the refrigerator until you are ready to use it. It can also be frozen and then thawed before using.
- For a top and bottom crust pie (such as Vegan Pot Pie or a dessert pie with a top crust) simply double the recipe.
Nutrition
*This recipe was originally published Dec. 2017 and has since been given a makeover by slightly altering the recipe, making it work better and giving it new photos.


The east pie crust ever and so delicious!
Hi Nora! Thanks for all the hard work you put into your recipes. You are my go-to for vegan dishes 🙂
I’d like to make a mini version of these to serve as hand pies. Thinking about using the bottom of a cupcake tin instead of a regular pie dish, aiming for 18 crusts max. Any tips for oven temp and cook time for a smaller version of this crust?